Creating a virtual machine with Ubuntu Server
There’s an abundant amount of virtualizing software available out there but the first and foremost I always stick to (because it’s free, and damn virtualizing software is expensive) is VM VirtualBox by Oracle. If you haven’t already installed it, go to the website and click the big blue button on the homepage that you can’t miss.
Assuming you’re on Windows (I don’t do OS X guides lol), click “Windows hosts” and the executable will download to your PC. Install VM VirtualBox with the default settings. Keep in mind that it will also install a controller for the internet connection for virtual machines and your connection will probably drop for a few seconds.
Once installed, open up the freshly installed copy of VM VirtualBox. You’ll be greeted by a penguin playing with a toolbox.
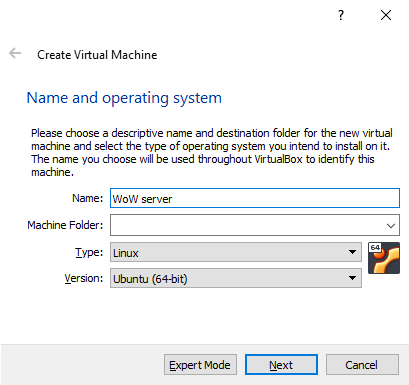
Click on “New” to create a new virtual machine. Give the machine a logical name such as “WoW server” and pick the folder you want to store the machine in. Keep in mind it will take about 25-50GB of space. Choose “Linux” at “Type:” and “Ubuntu (64-bit) at “Version:” and click “Next”.
Next up is defining the memory for the virtual machine. 2GB should be enough. I’m going with 16GB because I have the capacity.

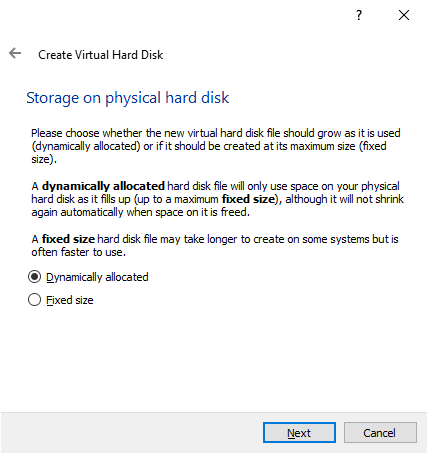
Next is creating the hard disk for the virtual machine. Select “Create a virtual hard disk now”.

The hard disk file type is the next thing to choose. Go for VDI (VirtualBox Disk Image).

Leave a Reply
Want to join the discussion?Feel free to contribute!